Introduction
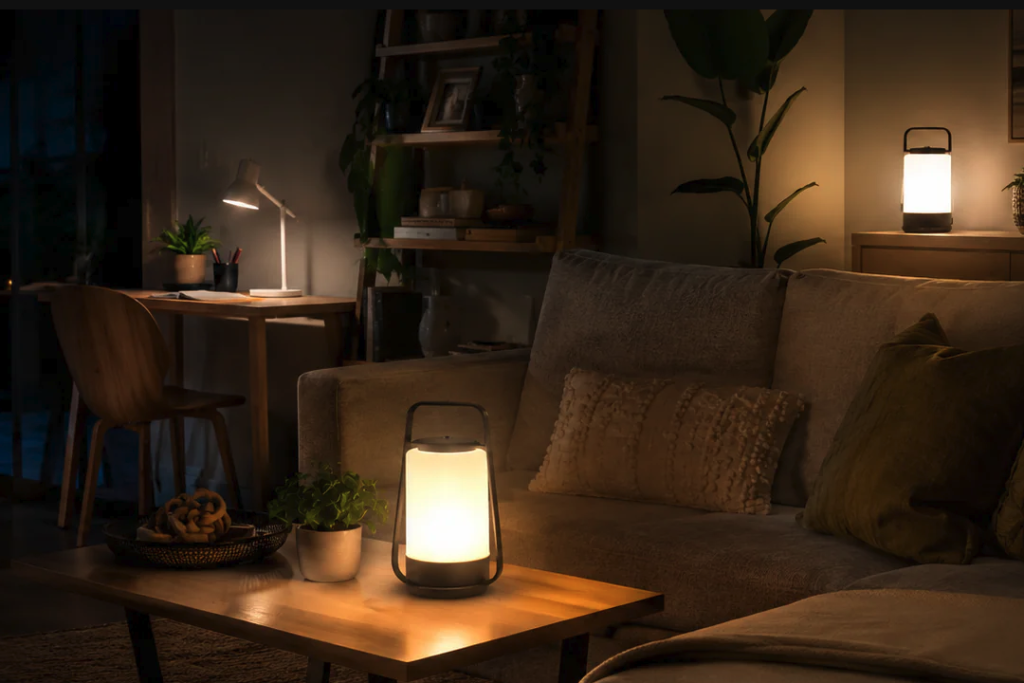
Do you want to add a touch of whimsy to your home décor? Mushroom lamps can do just that! Not only do they look adorable, but they also create a gentle, warm glow that’s perfect for a cozy ambiance.
There are many mushroom lamps available for purchase, but why not make one yourself? It’s a fun and creative project that can be a real statement piece in any room. In this ultimate DIY guide, we will take you through the steps to create your very own mushroom lamp.
Tools and Materials
Before we get into the step-by-step guide, let’s talk about what you’ll need.
– A lamp cord set with an on/off switch
– A light bulb (LED bulbs work well!)
– A mushroom-shaped object (could be a vase, bowl, etc.)
– Paint (acrylic or spray paint)
– Epoxy glue
– A drill
– A rotary tool (such as a Dremel)
– Sandpaper (various grits)
– A cloth
Step 1: Choose Your Mushroom Object
First things first, you’ll need to find a mushroom-shaped object that will serve as the base of your lamp. You can get creative here! Some options could be a vase, a bowl, a teapot, or even a gourd. Just be sure the object is stable and durable enough to hold a light bulb.
Step 2: Sand and Clean the Object
Before painting, it’s important to sand the object to remove any bumps or imperfections. Start with a coarse grit sandpaper and work your way to a finer grit for a smooth surface. Once sanded, clean the object thoroughly with a damp cloth to remove any dust or debris.
Step 3: Paint the Object
Now it’s time to get creative with paint! You can choose any color you like. Acrylic or spray paint works well, but be sure to follow the instructions for drying time and number of coats needed. For a more whimsical look, try adding polka dots or stripes!
Step 4: Drill a Hole for the Light Bulb
To create the opening for the light bulb, use a drill with a bit that’s the same size as your lamp cord set. Drill into the top or side of the mushroom object, depending on the style you’re going for.
Step 5: Create the Mushroom Cap
To create the mushroom cap, you’ll need to use a rotary tool such as a Dremel. Use a sanding attachment to create a round shape that fits the top of your mushroom object. Sand until smooth and you’re happy with the shape.
Step 6: Attach the Mushroom Cap
Using epoxy glue, attach the mushroom cap to the top of your object. Be sure to follow the instructions for drying time and weight-bearing capacity of the glue. Allow the glue to dry completely before moving on to the final step.
Step 7: Install the Light Bulb and Cord Set
Now it’s time to add the lamp cord set and light bulb. Follow the manufacturer’s instructions for installation, ensuring that the on/off switch is easily accessible. Once the cord and bulb are in place, turn on your new mushroom lamp and bask in its warm and cozy glow!
Conclusion
Creating your own mushroom lamp is not only a fun and creative project, but it’s also an excellent addition to your décor. With a few simple tools and materials, you can have a unique and whimsical lamp that will be the envy of all your friends. Now go forth and let your imagination run wild!